Halloween is approaching fast and it hit me during dance class on Tuesday night that I needed a quick treat for the Halloween party. Usually when I post these tutorials, I get a lot who has time for that? I’m here to tell you, this is super quick and easy. Best of all? It’s free! That’s right, you don’t need fancy software, you can use the PicMonkey website and create your own personalized treat bag labels.
Start by heading over to PicMonkey. Once you get there, click on the collage icon at the top of the screen. It might ask you to pick an image from your computer to proceed, just go ahead and do this, to get the collage open. 
It will open up a collage like the one you see on the screen shot below. Click the “x” in the upper right hand corner of the longer photo box to take it out of the collage.
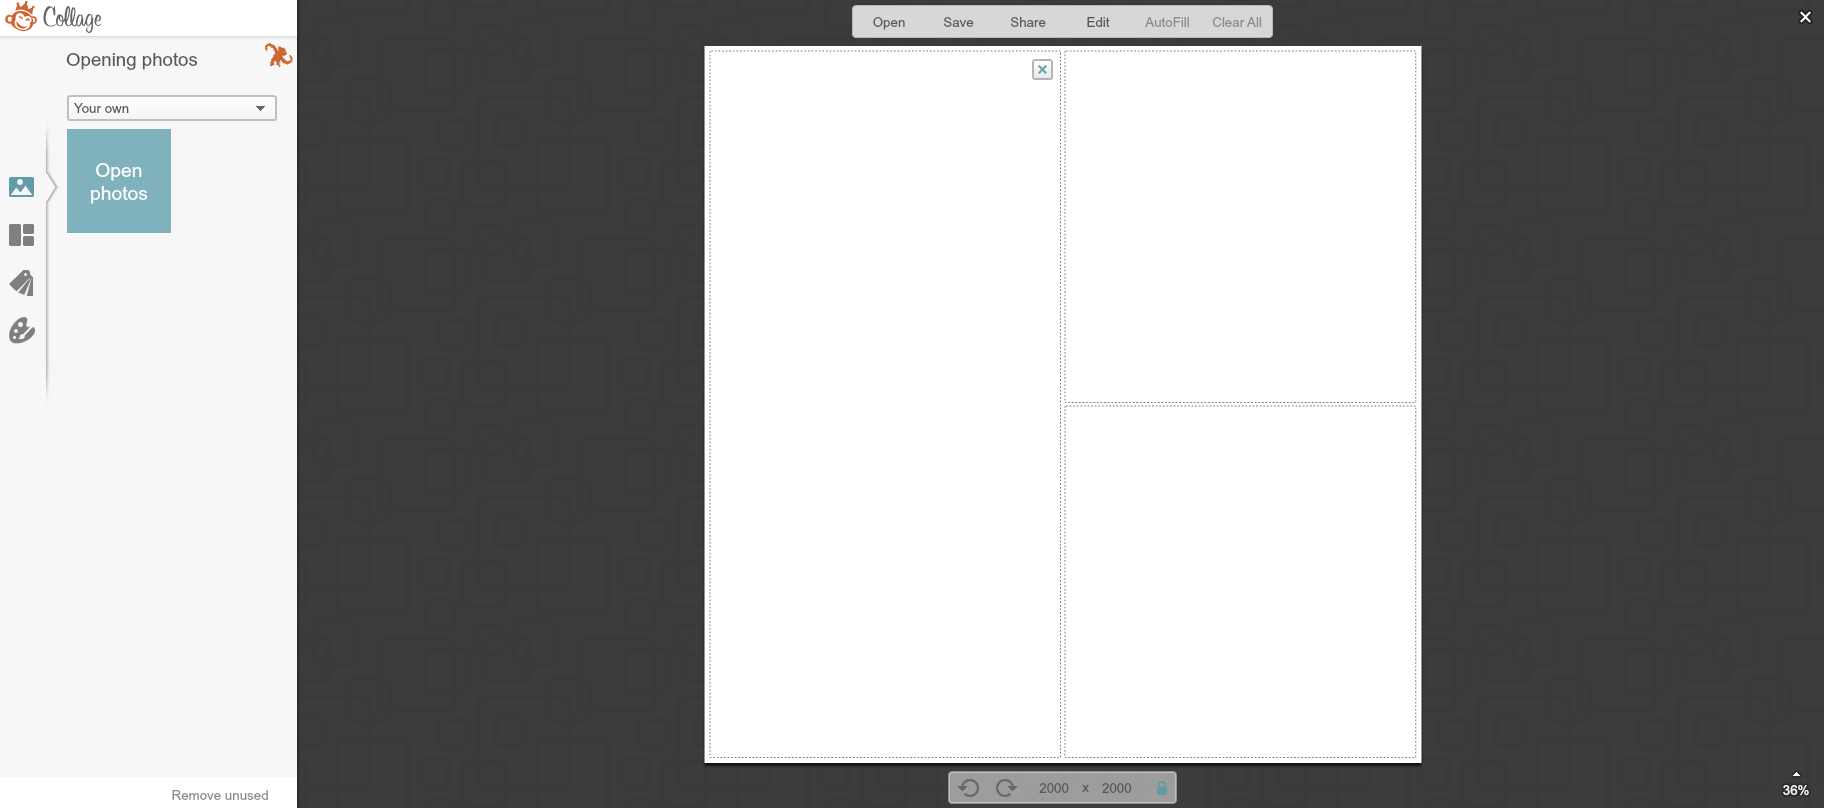
Your workspace should look the screen shot below and you’re ready to begin creating your bag toppers.

Fill the photo spots with a background. Just click on the image in the toolbar for swatches and chose a ready made design, create your own background, or upload one from your computer. The upload option is great if you’ve downloaded a free background and want to use it for your bag toppers. For mine, I just chose one of the swatches that came up in the menu.

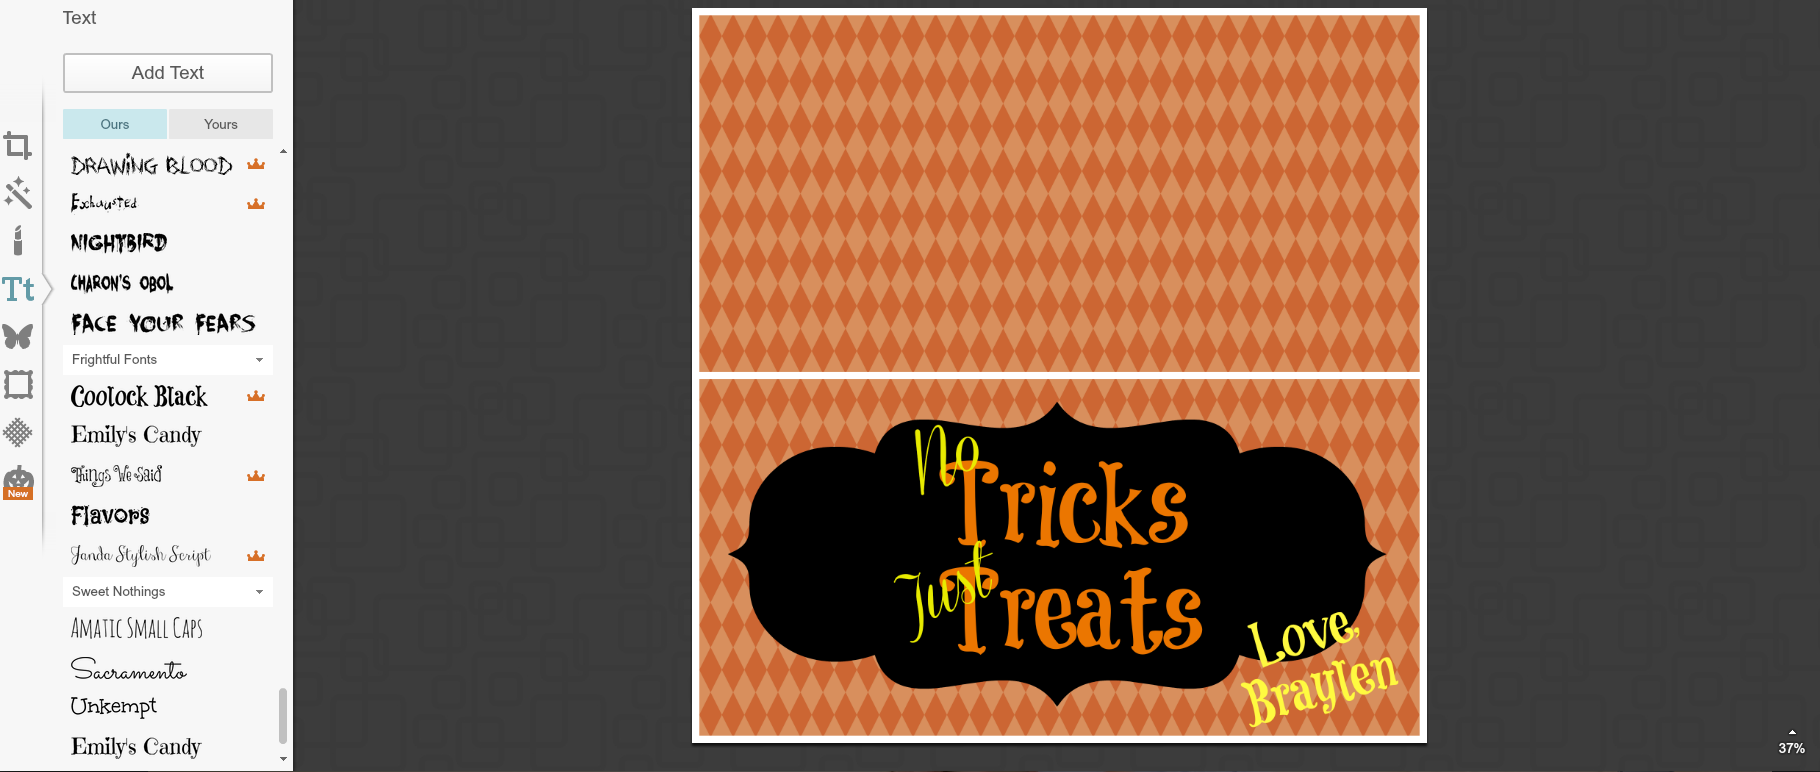
Once you’ve decided on your background, click on the edit option above the collage. The menu to the left of your work space will change and should look like the one below. Here is where the real fun begins. You can add text, overlays, graphics, edit your image, and so much more. I like to play around with this menu if I don’t have something specific in mind. The site is always updating their options based on holidays and seasons.
Here’s what I did to create the label you’ll see in the photo at the bottom:
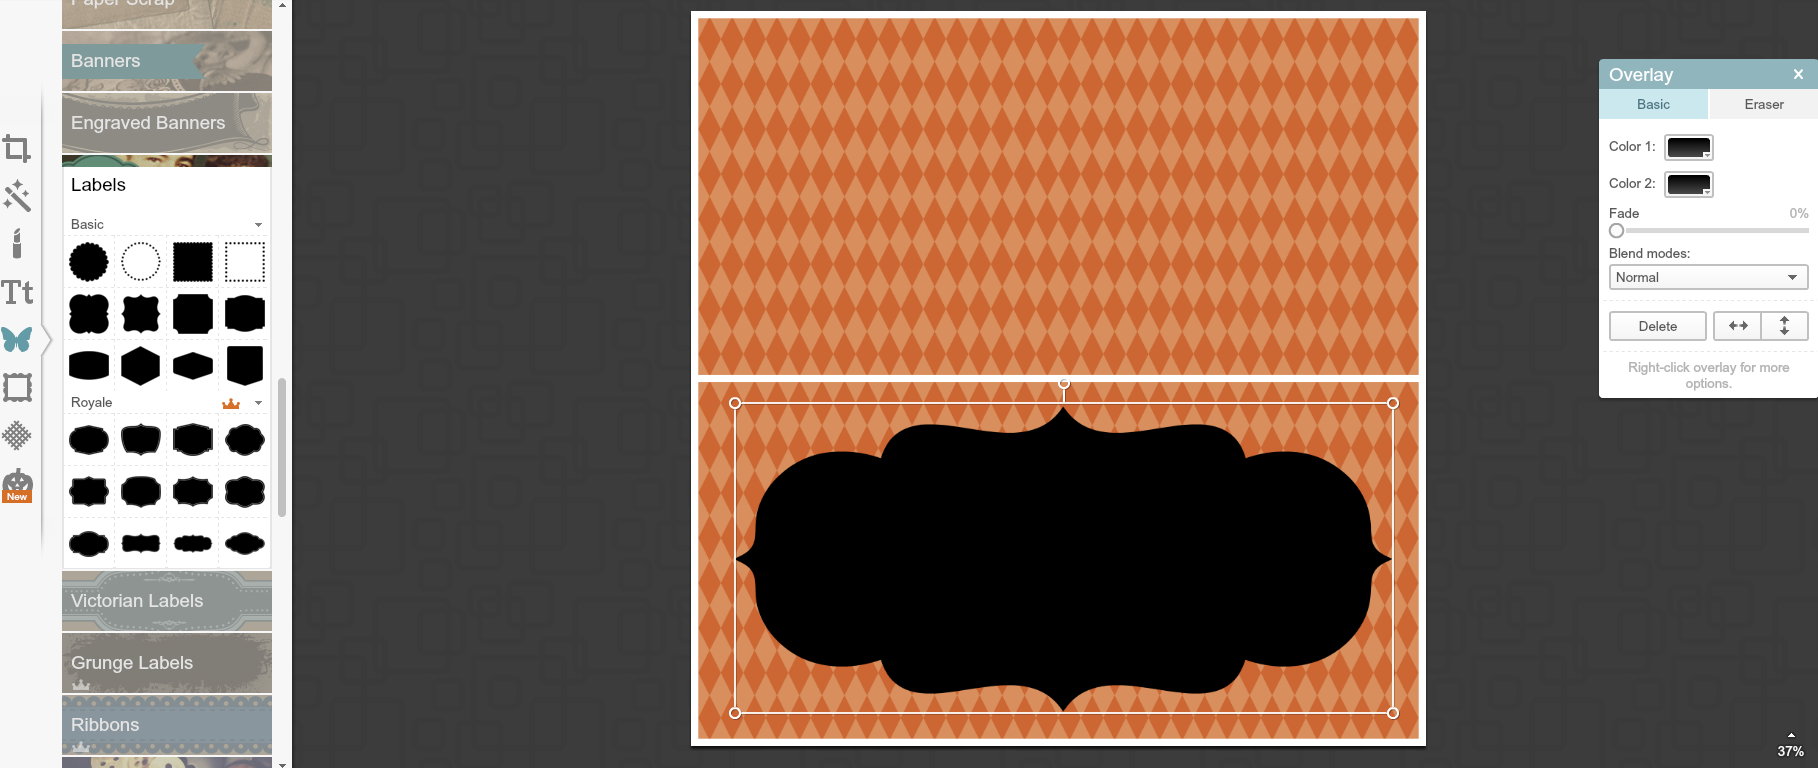
I started by adding a label (click on the butterfly icon, then scroll down to find the labels header). I wanted a nice big space to add text for the bag toppers, so I picked a fun label to serve as a background for my text.
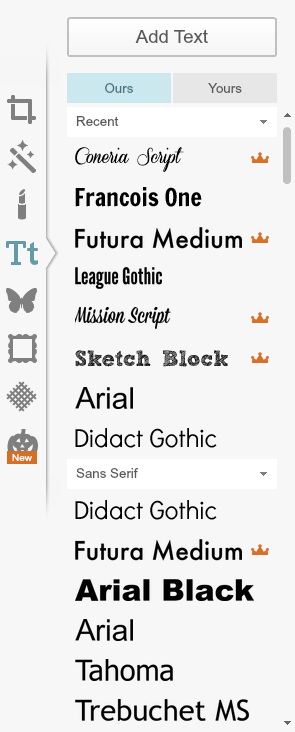
Next, I personalized the label with a cute Halloween saying and name.
That’s it! The topper is complete! Finally, I saved the label to my computer and opened the image in Microsoft word. I changed my paper orientation to landscape to fit more on the page and printed the toppers from the Word document.

For the final product, I used Wilton clear plastic bags (from the cake decorating aisle at Wal-Mart), cut in half. I cut the toppers out, folded them in half, and stapled them to the top. The final product was cute, simple, and cheap!